Put on Vest                                           Tighten Ropes             Pull Levers (Raise Person to Transfer)

Basic Design
User-friendly DIY Mobility for Immobile or Bed-bound People


The parts and components below are described in detail on the parts and directions page. The pictures below shows the basic design of the Aging-At-Home hoisting device.


NOTE: Some basic mechanical skills are required to understand how the Aging-At-Home device is constructed (Version 2.0 is simpler and faster to construct). However using either version (or similar devices) to transfer disabled people requires minimal caregiving skills (see Device Demonstration Video).


Once the device was constructed and properly attached to a ceiling beam, a firm pull on one of the lever-attached ropes raised the person wearing the vest three inches. Pulling both ropes raised the disabled person six inches which was enough to do effective toileting and perineal hygiene, or transfer the person to a different wheelchair, commode, bed, or other device.

With respect to caregiver stress during transfer, pulling the lever induces minimal stress since caregivers can optionally grab the lever rope and bend at the knees letting their own weigh lift the patient. Thus the arms, hands, hips, and shoulders are subject to very little stress when pulling the levers to hoist the person. Caregivers may be able to transfer persons two times their weight (see Device demonstration video) with minimal stress or strain using the device.

This page primarily describes Version 1.0 of the device though the two versions are very similar. There is a "parts and directions" page for Version 2.0 that has minor design changes to make the device simpler and faster to construct and require fewer parts.

Below is the Version 1.0 lower assembly including the lower orange loadbinder with pull rope, the crossbar (hollow square tube), and the "rope ratchets" with threaded and knotted ropes. Note that the U-Bolts below are replaced by Eye-Bolts in Version 2.0 to require two fewer drill holes.


Below is the upper assembly that shows how the upper lever mechanism attaches to the eye screw that screws into a 2x6 or 2x8 ceiling beam (see illustration). Note that two eye screws can be used side-by-side (in tandem) with a bolt connecting them for heavier persons for added safety. In Version 2.0, the red square "extender" tube is eliminated.


Here is the position of the device when the person is fully raised:


Here is the position of the device when the person is raised half the six inch distance (not a common position during transfer):


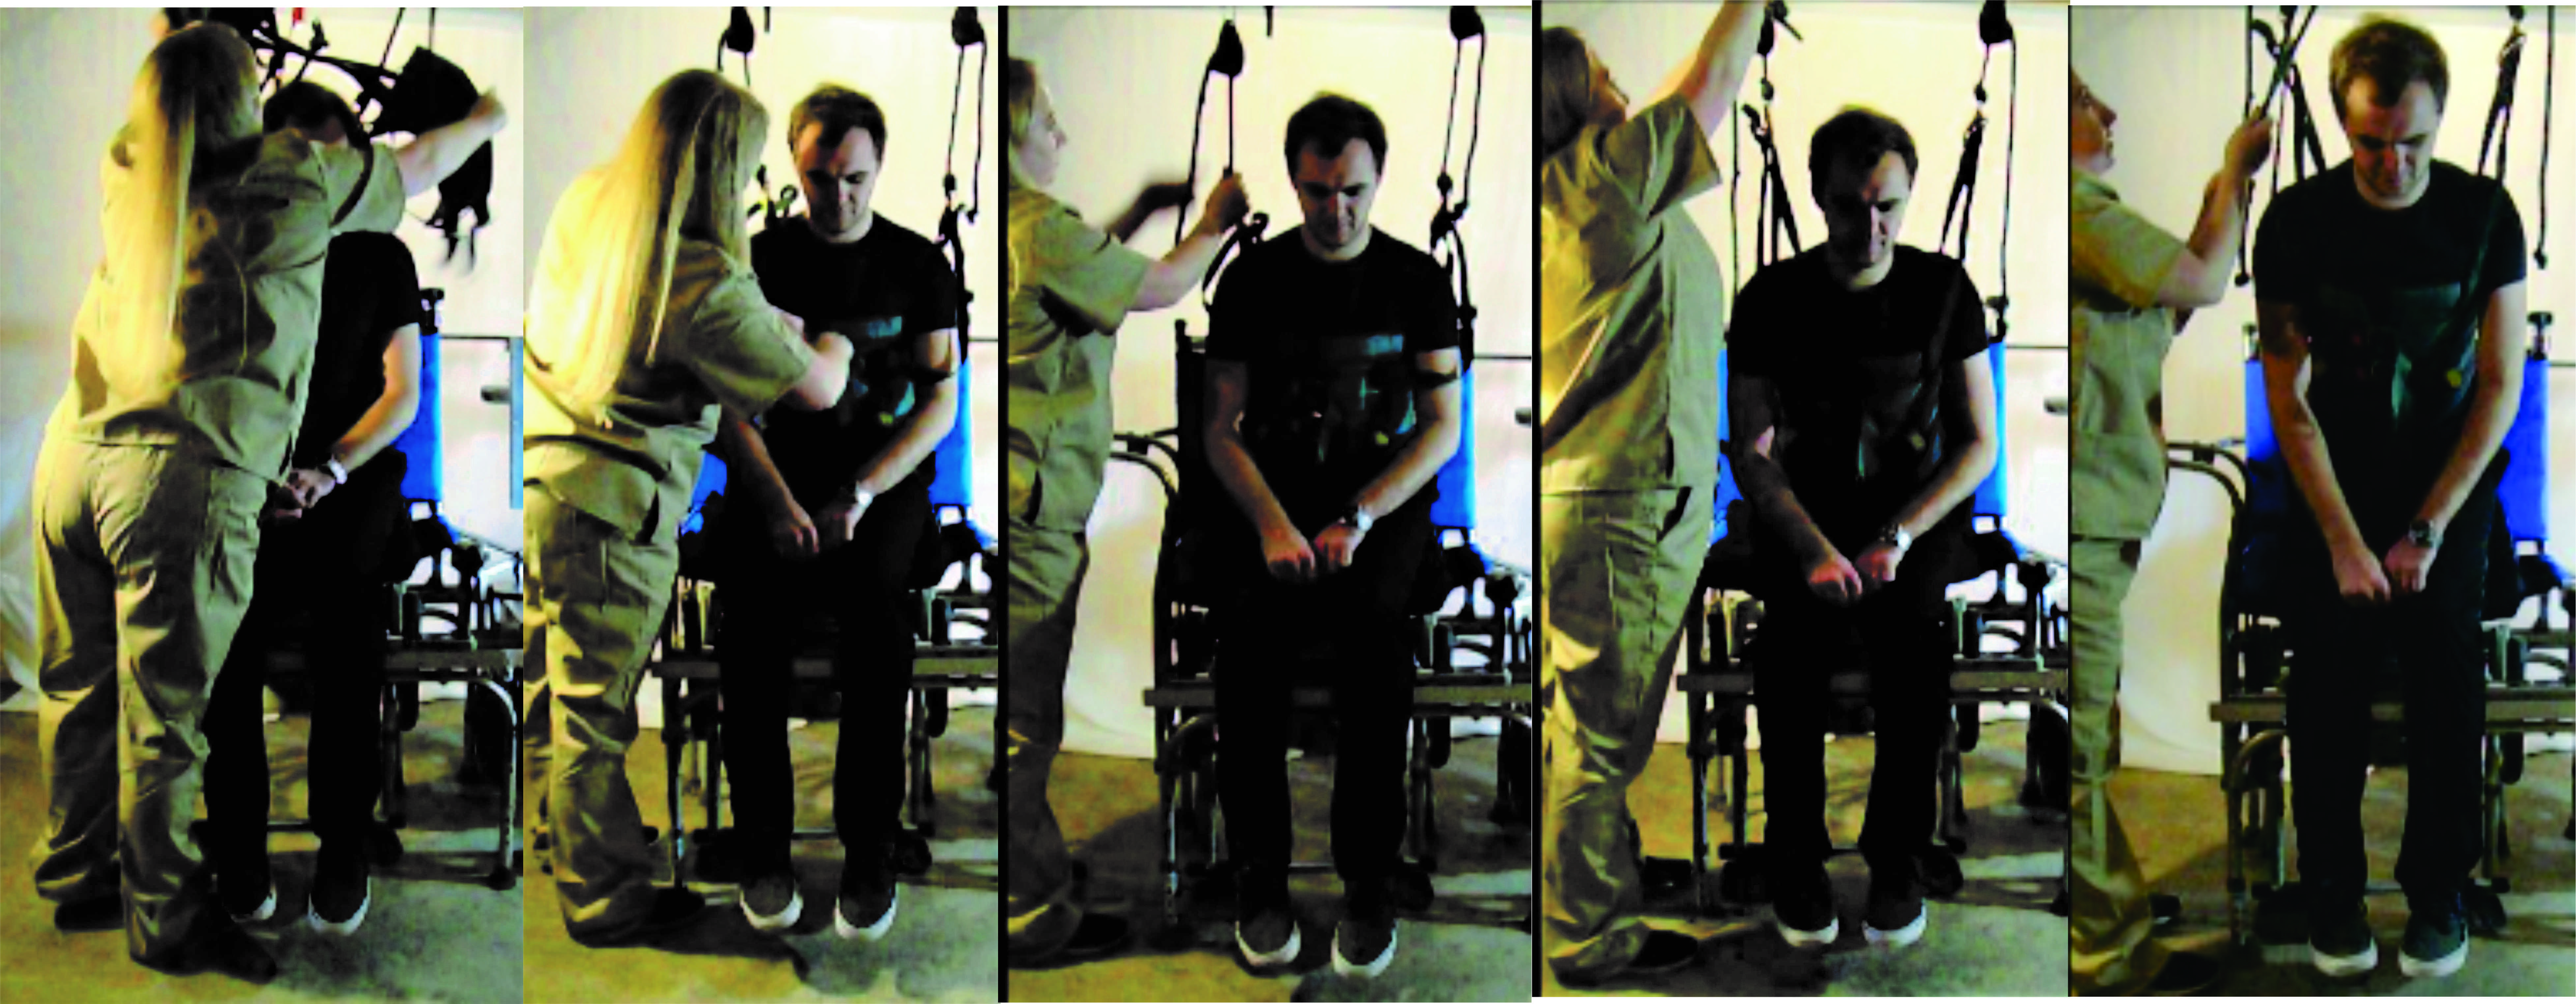
The following picture shows how a common vest (sometimes referred to as a gait training vest) often used by people with limited mobility attaches to the device. Our example uses a LIKO(TM) "MasterVest" which allows people to be raised from a sitting postion but for brief periods of time (perhaps 10 - 15 seconds). Toileting slings could also be used but they are more complex and slower to wrap. They can offer more support for the person's torso and put less stress on the disabled person's chest and armpits.


But note that with the Aging-At-Home device, such stress only occurs for short periods during transfer (~40 seconds for wheelchair transfer and ~50 seconds for bed transfer in our example videos), and is therefore less stressful than the way slings are normally used. Careful placement of the commode chair, pulling both levers at a time, and reducing the steps the caregiver must take could allow for the person's chest to be compressed by the vest during commode transfer for less than 10 seconds. This would put minimal stress on the person's chest from the vest during transfer.

The most common transfer method associated with slings bends the person's body into a semi-fetal position and compresses their chest and hips for minutes at a time. It is therefore more invasive than the Aging-At-Home method.


These green LIKOTM vests come in different sizes (S-M-L), and can be inexpensive to buy at auction or on-line sales sites such as eBay.


Note the two brass hooks that attach to the vest's green straps, and hang from the black plastic "rope ratchets". These can be unhooked after transfer allowing the person in a wheelchair to wear the vest continuously during the day. This makes transfer much faster since putting the vest on and off the person takes additional time for each transfer.


When the person is hoisted, their position can be frozen by the use of a Velcro tie or wrap that holds the levers in place (and the person in a raised position). The left picture below shows the Velcro wrap or strap in an open position. The right picture shows it wrapped around the lever arms to hold the raised person in place.

This Velcro strap is a security mechanism that prevents the raised person from accidently being lowered during transfer or during other activities.


The Aging-At-Home device is compact not only when in use but also when it is not needed. The picture below shows how the device can be stored six feet or more above the floor so it does not interfere with the use of the room when the device is not in use. Note that the most transfer devices (sling or sit-to-stand lifts) are large four-wheeled floor devices, and are quite heavy and bulky. So this compact design has many advantages.


Disclaimer: Aging-At-Home.org claims no medical or engineering expertise, and seeks only to share information we have found useful with others. Any use of the information provided is up to others, and we assume no liability for such use. This website is for information purposes only. This information is not provided for the purpose of diagnosing, treating, mitigating, or preventing any type of disease, disability, or medical condition.


There are two versions of the device, V1.0 and V2.0. V2.0 is simpler with fewer parts and build steps but their differences are minimal and they both operate the same. In addition, V2.0 has two "how to" videos which make construction easier.


Next we will examine V1.0 Parts and Directions.

To continue, click on the [ NEXT ] link below:

[ BACK ]      [ NEXT ]

home     |    basic design      |    V1.0 parts and directions    |   V2.0 parts and directions      |    videos      |    conclusion
Home

Copyright © 2022, Towersgreen, LLC, All Rights Reserved